I've spent the past year doing an MPhil, and consequently, this blog has been somewhat neglected. I have still been knitting and crocheting, but my room doesn't have very good light and the weather in Britain has been somewhat appalling over the past couple of months. Thus, I haven't really got my act together to get some of my creations photographed.
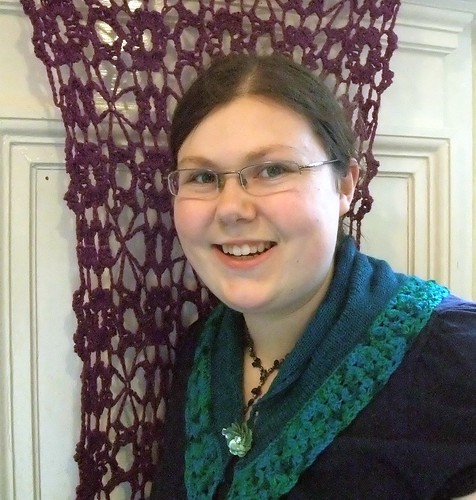
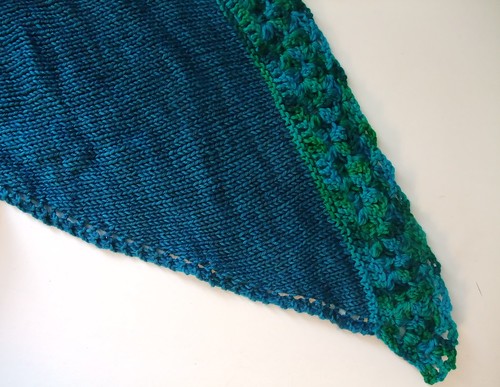
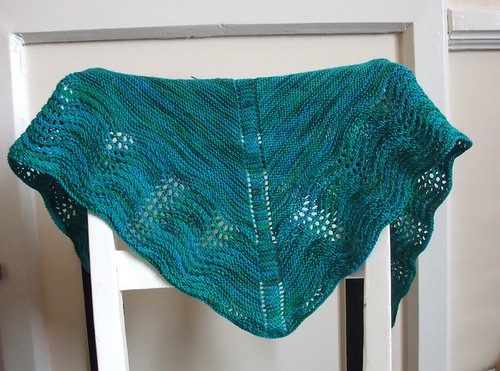
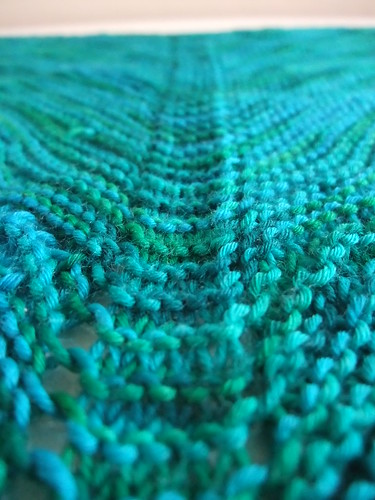
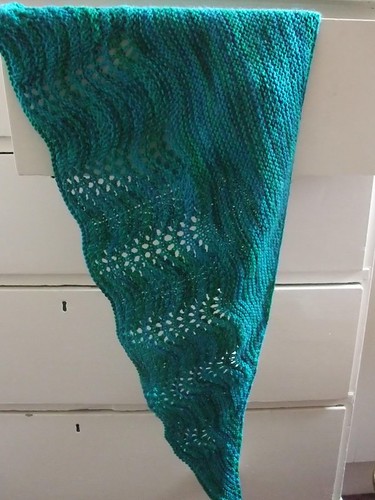
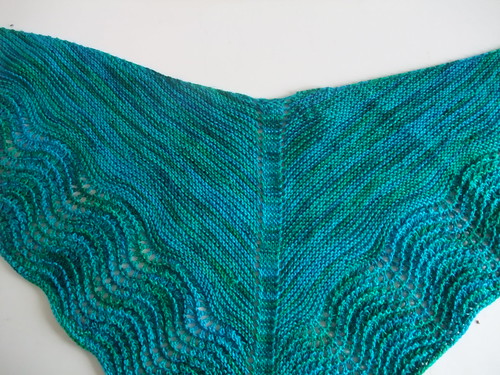
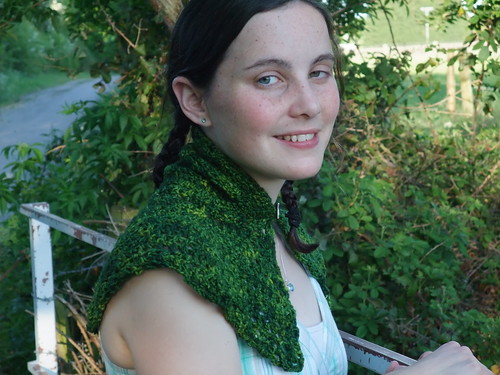
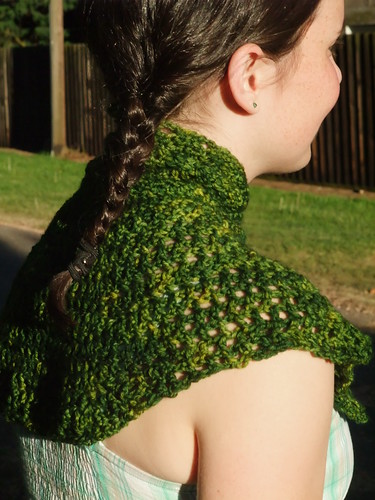
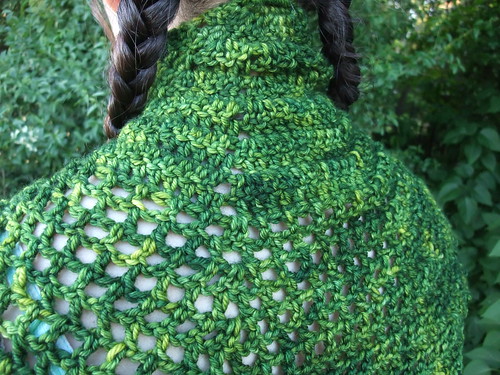
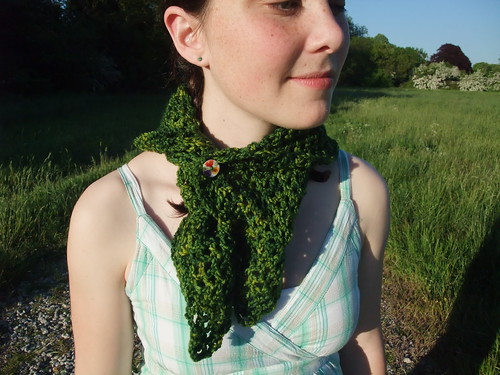
I've made several shawls this year. As I was giving one of them away to a friend, then that was the kick into action that I needed to get it photographed. But it was another rainy day, so I ended up shoved into the one picturesque corner of my room (a white painted fireplace), trying to get some decent shots. I took a lot, and ended up with three 'modelled' shots that I like, and more 'on a white background' shots that are decent.
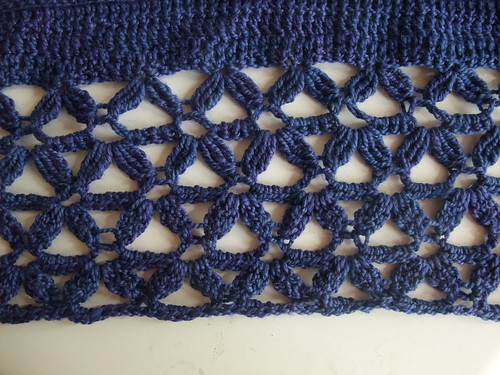
I thought that I would post the pictures up here. The shawl is another variation on the clustered trebles technique that I used on the
Endellion shawl, and was an attempt to use up some leftover Wollmeise 80/20 Sockenwolle (the Pfefferminz Prinz that I had previously used on my
Multnomah and the Vergissmeinnicht from the
Idony gloves and
Knotty gloves). It ended up a little shorter than I really wanted, but I really like the mix of the two yarns.
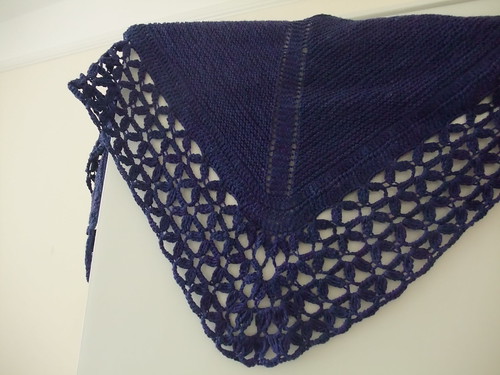
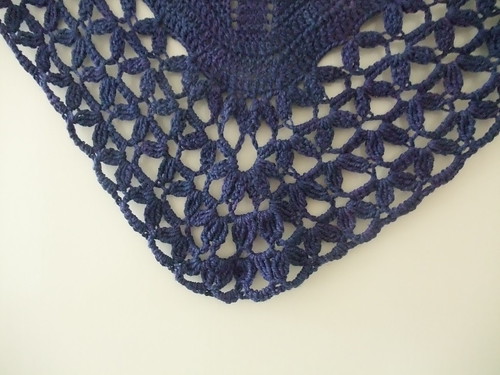
After making Buryan (I thought after Endellion, I could use Cornish saints as theme names for my shawls), I've made two more shawls. However, my parents have taken one of them (Petroc) home. I'm off on my usual summer transit, helping on various camps, so I don't think that I'll be able to photograph it until the end of August. My other shawl, Piran, is almost finished. I'm trying to work out how to do the edging and the bind off at the moment. Hopefully, I'll be able to photograph it on my travels. All three of these shawls are my own designs, so when I have time, I'm hoping to write up the patterns, get them tested and then release them.
Hopefully, it won't be another ten months until I post here again!